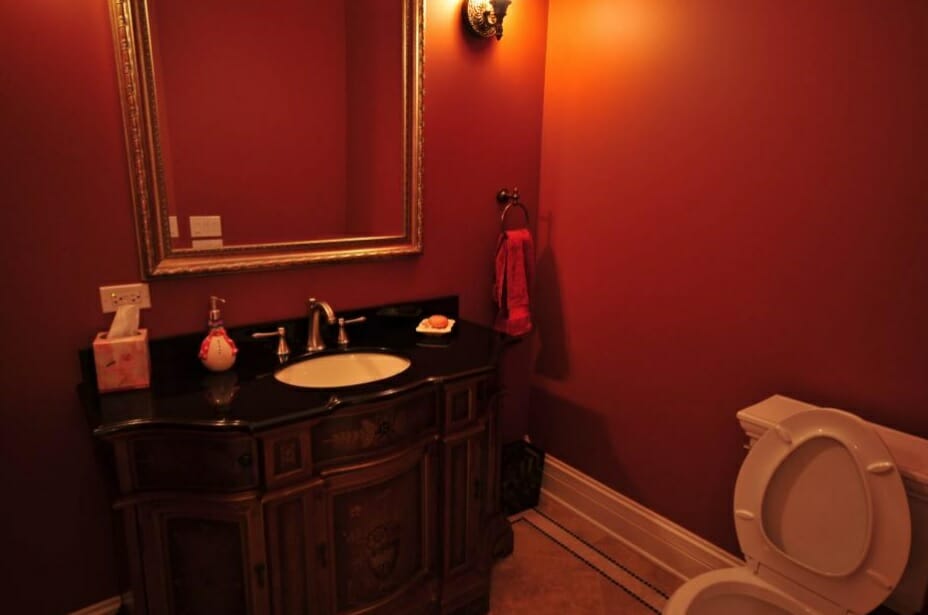
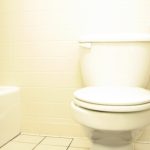
Have you recently found water around your toilet base? If you have this is a bad sign, and it means that there is a leak inside your toilet. This leak is likely to be located somewhere at the base of your toilet, and it can cause a real problem. Over time the leaking water will compromise the structure of the floor around your toilet. Eventually, the floorboards may be so badly rotted that the toilet will sink into the floor or tip over. If you want to stop the leaking and save your bathroom floor, it’s time to put on your tool belt and get to work.
What is Wrong with the Toilet?
When there is a water leak at the base of a toilet, there are two common causes; they are loose tee bolts and a damaged wax ring. The first is a relatively simply fix for any dedicated DIY enthusiast and the second needs more plumbing experience to repair correctly. Before you begin any plumbing task make sure you’re confident in your knowledge. It’s very easy to make a mistake, and then the plumbing problem can be harder to fix. If you’re not sure contact a local certified plumber and then will be able to help you.
Problem 1: Loose Tee Bolts
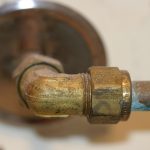
If you look around the base of your toilet, you should see a series of plastic caps. These are covers for a set of tee bolts that are used to bolt your toilet firmly to the floor so it cannot move. If these bolts become broken or loose, this will make the toilet unstable, and this can break the seal. The seal is needed to prevent water leaks that will damage your bathroom floor. It’s important to fix this problem quickly to protect the toilet and bathroom from further damage.
Fixing Loose Tee Bolts
The toilet has probably shifted a little as the tee bolts became loose or damaged. Try to reposition the toilet to its original location, which may be obvious when you look carefully. Make sure the toilet is centred and level and take not to twist or jerk the toilet too much to protect the drain line. Once the toilet is in the correct position, remove the plastic caps, and tighten up the tee bolts. If you find that the tee bolts spin freely as you attempt to tighten them or they are damaged, you will need a replacement set from the store. Once the tee bolts are tight again, the toilet should not move, and you’ve fixed your water leaking problem.
Problem 2: A Damaged Wax Ring
It’s essential to attempt the fix above before you move on to this particular solution. The condition of the tee bolts should always be checked first, and this is logical because that is the easiest problem to fix out of the two shown here. If you’ve tightened up or replaced the tee bolts and the water is still leaking around the base of your toilet the wax ring is damaged, and you need to replace it. This is a complicated plumbing problem to fix and if you’re not confident it’s time to call a local professional plumber for expert help and advice. If you’re ready to go ahead, follow these steps to replace the damaged wax ring.
Step 1: Get a Replacement Wax Ring
The first thing that you will need is a replacement wax ring for your toilet. Take a picture of your toilet base and take this with you to the store. At the store ask a plumbing expert to help you find an appropriate replacement wax ring.
Step 2: Prepare the Toilet
Find the water valve located behind your toilet and shut off the water supply to prevent a severe water leak. Then flush the toilet to remove the majority of water sitting in the toilet. There will still be leftover water in the toilet; to remove this unscrew the nut that holds the fill valve in place. Any excess water can be caught in a small bucket, and any remaining water can be removed by using a toilet plunger in the bowl for a minute.
Step 3: Moving the Toilet
It’s time to unscrew the water supply from the rear of the toilet and then remove the tee bolts that are securing it to the bathroom floor. The toilet should now be free and ready to be lifted and carefully moved from its usual location. A toilet can be heavy, so keep your back straight and don’t drag it to avoid scratching your bathroom floor. Place the toilet on one side and take a look at the wax ring that’s positioned around the toilet base. The damage to the wax ring may be obvious, and as you remove it, you may have to peel off dried wax reside to get the surface clean.
Step 4: Fit the New Wax Ring
Place the new wax ring on the base of the toilet and keep it in place with the tee bolts. Then lift the toilet up and reposition it in its usual location carefully. This can be tricky when you don’t have much plumbing experience, so get a friend to help you. Once your satisfied with the general position you can begin to reinstall your toilet.
Step 5: Reinstalling the Toilet
Make sure the toilet is in the correct location and then push down on the toilet evenly to push the wax ring down and create a fresh seal. Then screw the tee bolts tight, but take care not too over tighten them to avoid damaging the toilet. The toilet must be level and centered before you bolt the toilet down. Next, reconnect the water line and turn the water valve back on. Allow the toilet to fill for a few minutes and then give it a flush to see if it works. Inspect the base of the toilet to see if any water leaks are escaping from the new wax seal. If not, congratulations the new wax ring is working correctly.
If you’re not sure about attempting this plumbing repair yourself, contact a
local certified plumber today.
By Giovanni Longo President Flood Brothers Plumbing
Giovanni Longo is a 3rd generation master plumber who has been practicing his craft and trade in the greater Los Angeles area for well over a decade and a half. A plumbing and hydraulics-engineering innovator, Giovanni’s particular world-class expertise focuses on dealing with challenging sewer system designs as well as resolving complex commercial and residential draining issues. As a certified Flood Mitigation expert, he is also well versed in a wide variety of water damage and remediation solution.